
Last week I showed you how easily it was to configure the Nimble array, create volumes and bring them into VMware vCenter. Well what if you're a Virtualization Administrator and don't have access to the storage or just want an easier way to create datastores without having to create igroups or enter in IQN's, etc.? Today I'm going to show you how easy it is to do this with the Nimble Storage Plugin within VMware vCenter. So how do you get this cool feature to work? Read on!
1. Installation. Sorry, it's already installed! The only thing you need to do is go to the Nimble Storage GUI and enter in the credentials for the vCenter Host. Granted if you're a vCenter Administrator and don't have access to the array you'll need to have the Storage Administrator do this for you, or open the page for you. Click on Administration and go to Plugins.

**Note** With all good things there's always the opposite side of the coin. If you do create datastores this way, they will be wide open because there will be no ACLs. If you want to control access, have the Storage Administrator go into the Nimble GUI and create the ACLs for you.


3. Head over to vCenter, click on your datacenter and you should see a new tab with the name of your Nimble array. Click on that tab and click on New Datastore.

4. Give your new datastore a name and a description if you'd like.


6. Enter the size of the new datastore, the VMFS block size and if you'd like to use default space settings for reserves, quotas and warnings. These will vary on your environment, so choose what makes best sense for you.

7. Here you can create a protection policy for the new datastore and set up synchronization with vCenter if you'd like to quiesce the virtual machines during snapshots. If you don't want to set this up, click on the Delete button.

8. Here the delete button has been used. This step will also vary greatly for your environment. It's always best practice to backup your datastores unless the data is not needed.

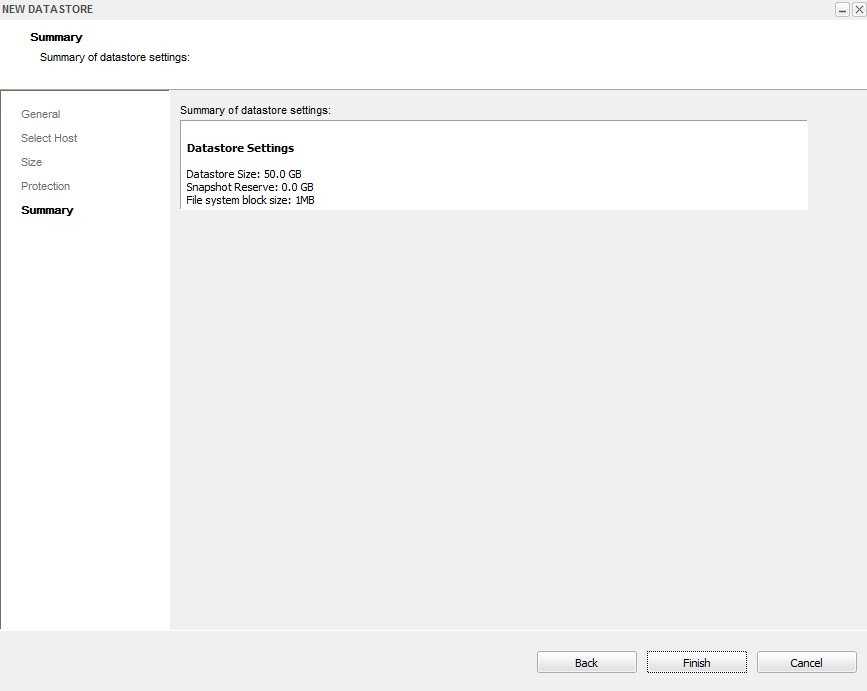
9. Review the summary and when you're happy click Finish.
10. You're all done! The datastore is now being created and vCenter will let you know when the creation is complete.

11. Here we can see the datastore has been created and some metrics regarding it can be seen.

12. Click on the ESXi host(s) you set up to see the datastore, click on the Configuration tab and the Storage link. You should see your new datastore and it is ready to be used!
Pretty easy huh? As always, I hope you enjoyed the blog!
Until Next Time!
-Brain
No comments:
Post a Comment